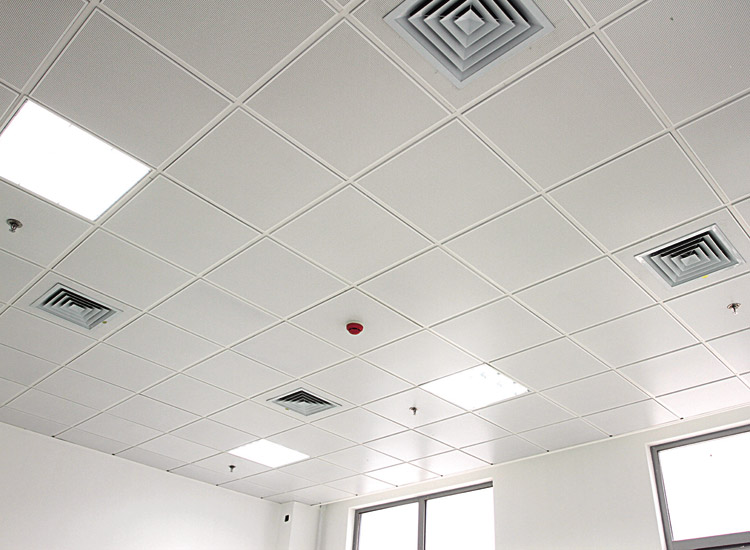
How to install Clip-In Aluminum Ceiling Tiles?
 How to install Clip-in Aluminum Ceiling Tiles? Below article from Saiyi Aluminum Can be very helpful for your works on this.
 Preparation
Materials:Main channel, connecting parts, hanging parts, spare parts(including boo,s, screws, nails, self-tapping screws.etc.), aluminum ceiling tiles
Working Conditions
Install various pipelines and ventilation ducts in the roof to determine the position of the lamp position, vents and various orifices
All kinds of materials are matched and ready.
Set up the roof construction operation platform.Construction can be carried out after being tested and confirmed by the construction contractor.
Operation process
Position Line
According to the floor level line, use the ruler vertical vector to the ceiling design elevation, makrk the channel position line on the top plate, and mark the ceiling horizontal line on the wall.
Install the main channel boom
After the height line of the ceiling and the position line of the main channel are fixed, determine the elevation of the lower head of the boom, fix the boom
according to the position of the main channel and the hanging distance; the boom adopts Φ8 wire screw The length of the boom should be determined according to the elevation of each part. The distance between the booms is 900-1200mm.
Install the main Channel
- Fit the boom nut and secure the hanging parts on the main channel.
- The spacing of the main channels is 1200mm.
- Install the main channel: Insert the main channel of the assembled hanging parts into the corresponding boom bolts according to the position of the split line and tighten the nuts.
- Connect the main channel, install the connector, pull the wire to adjust the elevation and straight.
- Install the main channel in the hole, set and connect the card.
Installa the Ceiling Channel
- Press the sub-keel line that has been bounced, and put the keel triangle hanging the piece.
- The spacing of the secondary channels is 600mm.
- Hanging the secondary channel: According to the main channel spacing specified by the design, the secondary channel is hung on the main channel through the triangular hanging piece.
- When the length of the channel needs to be extended for a long time, use the second channel connecting the piece to connect the channel while hanging, and straighten and fix it.
Installation Aluminum Wall Angle
- The specification of the wall angle is 25mm × 25mm.
- The elevation of the installation ceiling requires the use of cement nails around the wall to fix the edge wall angle.
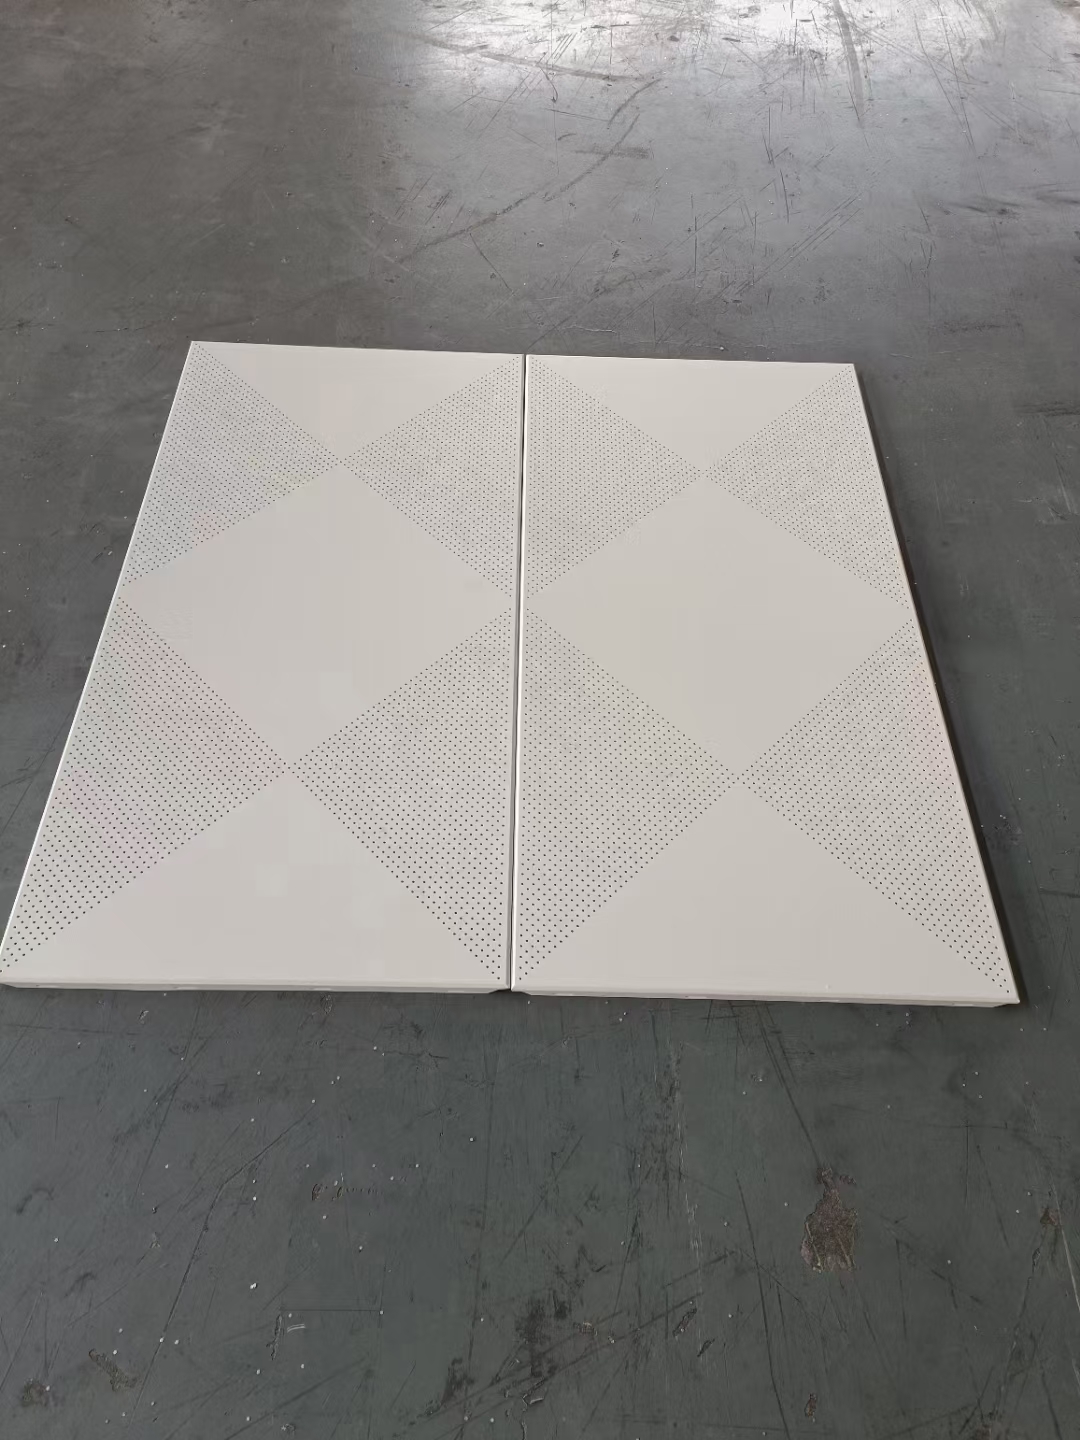
Install Aluminum Ceiling Tiles
When installing the aluminum ceiling tile, gently press it along the burring part, and then completely snap the two sides of the ceiling plate into the ceiling channel, then push it tightly, prohibiting the rough handling; and adjusting the edge of the aluminum strip Straight card fixed side aluminium ceiling.


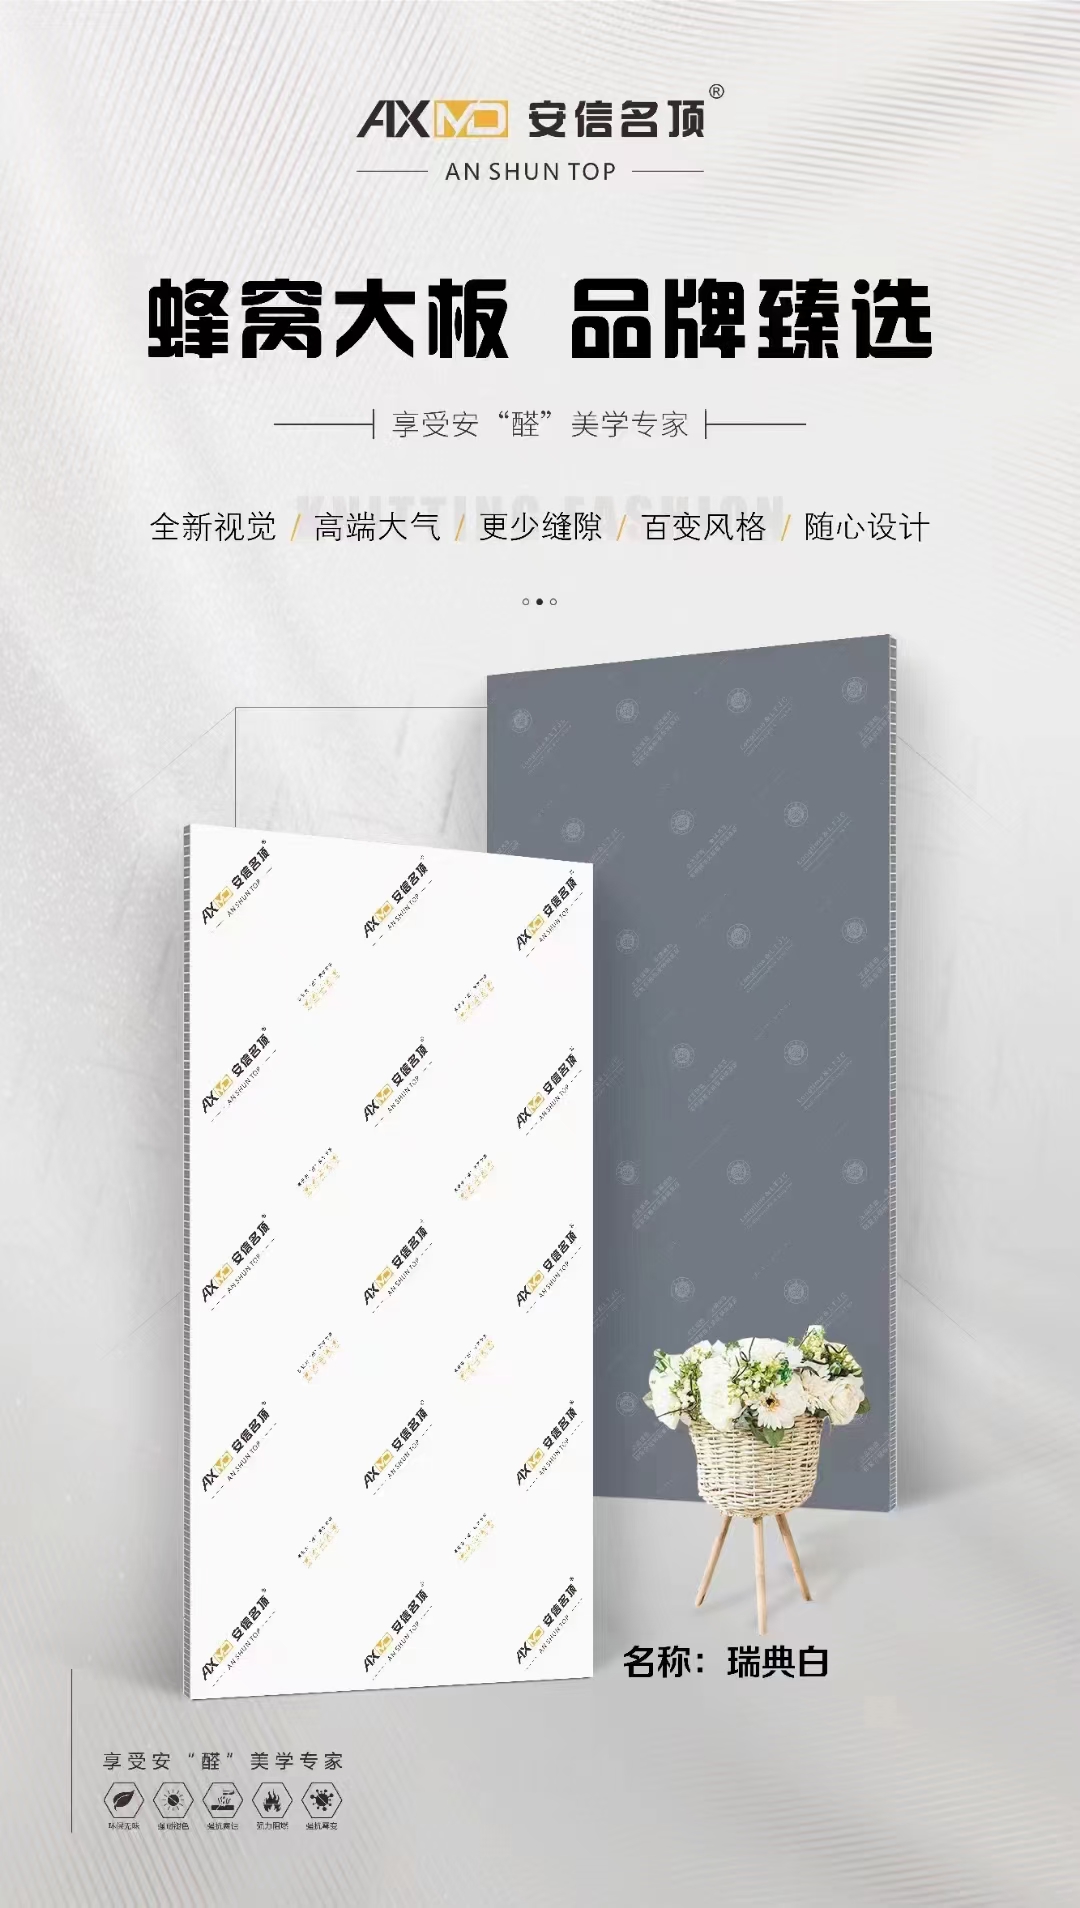 aluminium honeycomb panel aluminium honeycomb ceiling
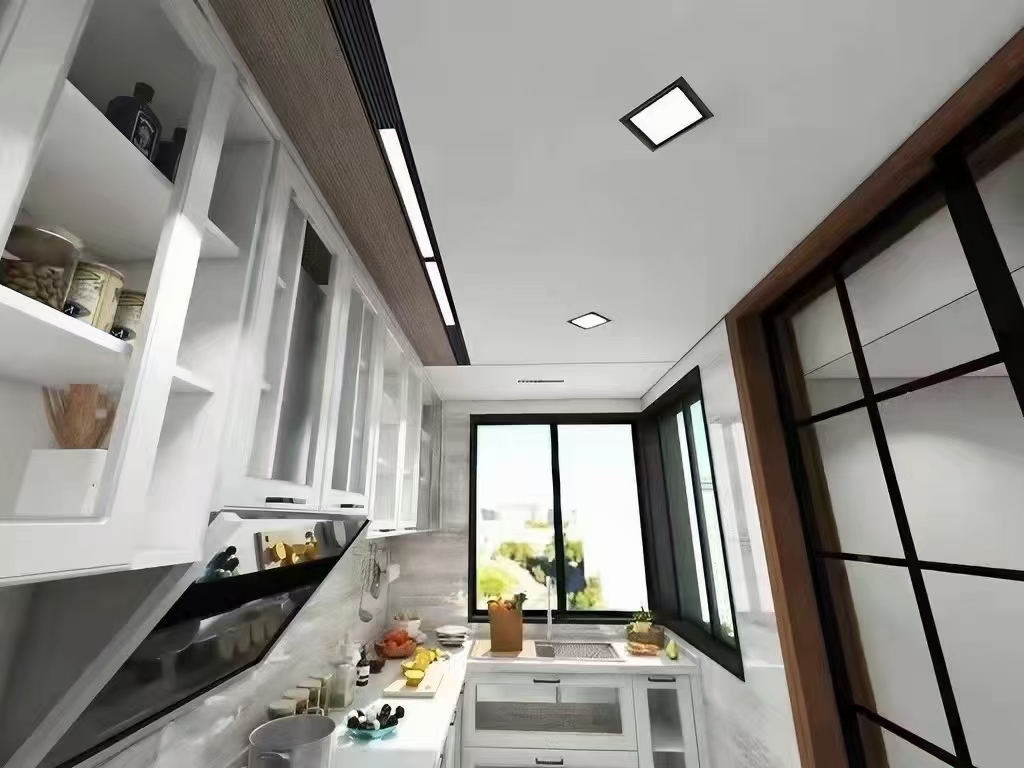 Aluminum Honeycomb ceiling, brand new building material
 Aluminium honeycomb ceiling