Hanging drywall for ceilings can be a very difficult and daunting task. A good alternative is doing a suspended ceiling. Areas like a basement, where water lines, pipes, cables and duct work run between the floor joists are especially good for suspended ceilings to maintain access to those lines should the need arise. Here are the steps for hanging a suspended ceiling.
1. Determine the maximum height of the suspended ceiling. Typically about 4 in. from the existing ceiling joists, this provides enough space to angle the tiles into place. (If installing drop lights, then go 6 in. from the joists.) Mark the wall and then draw a line around three sides of the room using your level. 360 Degree laser level work best, or a 3' - 4' level to draw a line around the entire room. If using a hand level you'll need to use a chalk line once the marks are made so you have a straight line. Laser Line levels will provide a nice bright red line around the room.
2. With the perimeter lines established, nail or screw the perimeter molding ( L shaped bracket in the grid kit) in place, preferably in the wall studs, so that the top edge of the bracket lines up with the perimeter line. Cut the molding to fit with tin snips in corners or along oddly shaped walls. For long walls, butt the ends of two pieces of molding. For outside corners miter each bracket at 45 degrees and butt together.
3. Before installing the main runners, use string to lay out where the main runners are to go, this will be perpendicular to the joists and should be 4ft apart. Measure the length and width of the room, and from the center of the string runners, so the ceiling appears balanced from side to side depending on the size tile you are using. Doing this saves A LOT of time and string is easier to move than the main runners.
4. Once the string grid for the runners are in place and you are happy with the balance, install the main runners perpendicular to the joists and 4ft. apart. Depending on the type of ceiling grid system you use, the main runners will either be in sections of 4ft, 6ft, or 8ft sections that snap together. Support the main runners with 16-gauge wire into eyebolt screws that you screw into the floor joists about every 3rd joist. Use string stretched between perimeter moldings to determine height of runners. Using a smaller level every 4ft. across the runners as you hang with wires will keep your runners level all the way across the room.
5. Tie the runners together with the cross tees. Start in the center of the grid to square the grid. Keep in mind the type of system you've chosen, either 2 x 4-ft or 2 x 2-ft panels, and place cross tees in accordingly. It's a good idea that as cross tees are placed to place a few tiles in along the way, but not all tiles should be placed at this time in case you need to move a few of the cross tees.
6. No doubt that you may need to trim a few tiles. If the tile you choose is smooth cut on the finished side, however if the tile you choose is more textured, cut on the back side to trim. Always use a sharp utility knife, less dust and better results than with power tools.
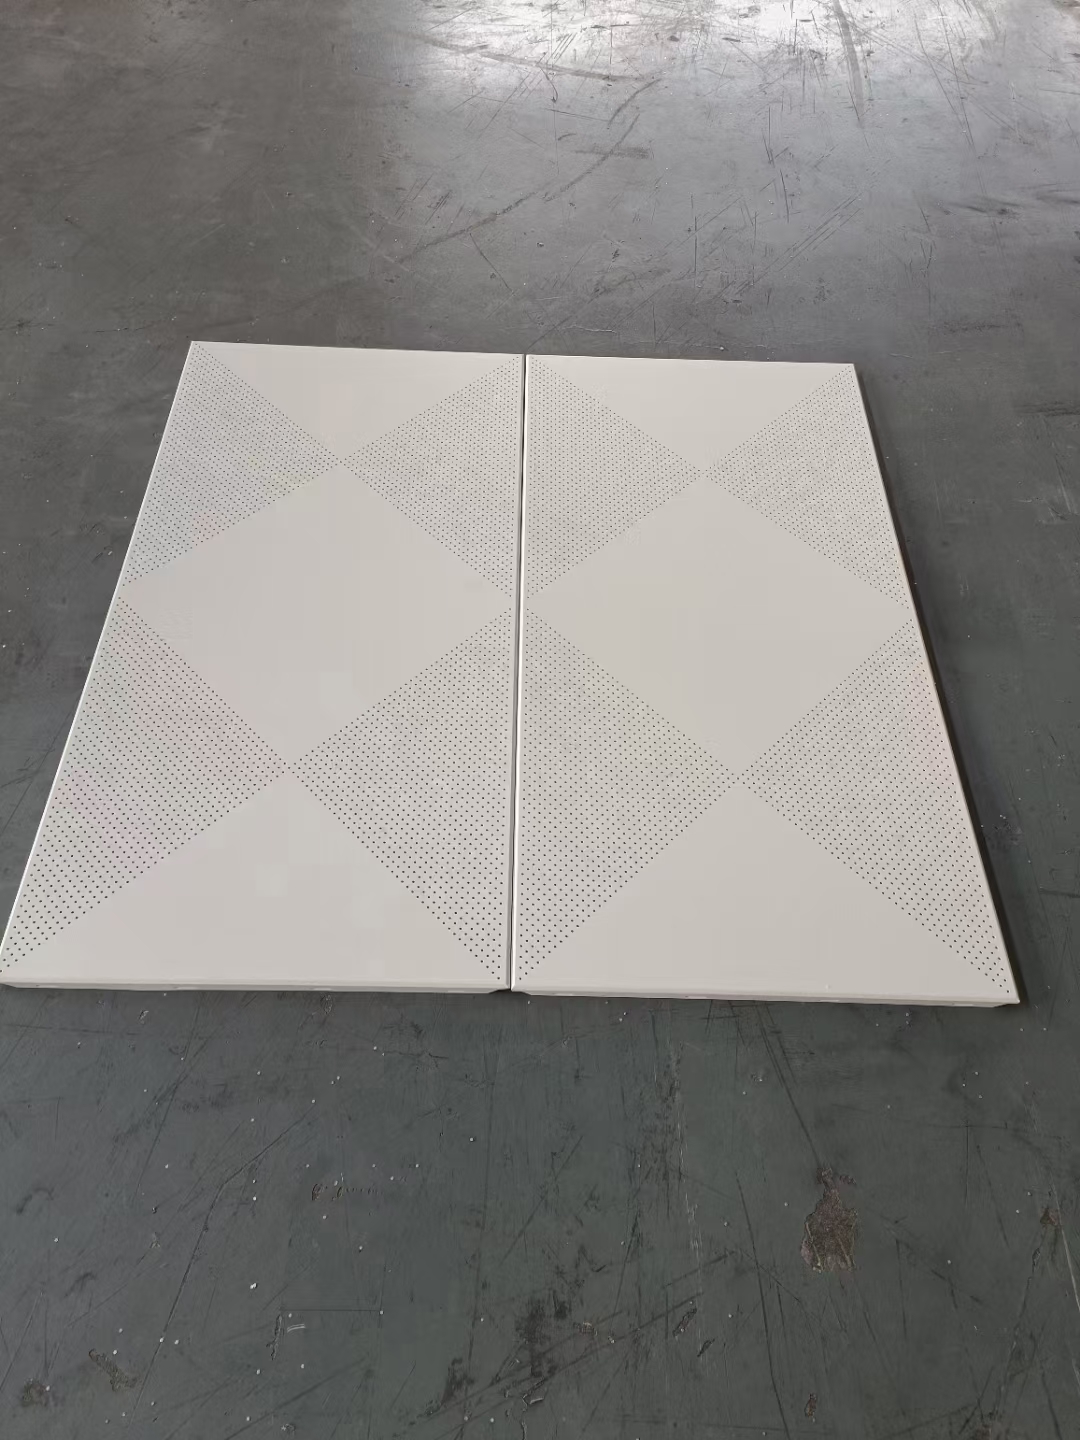
 aluminium honeycomb panel aluminium honeycomb ceiling
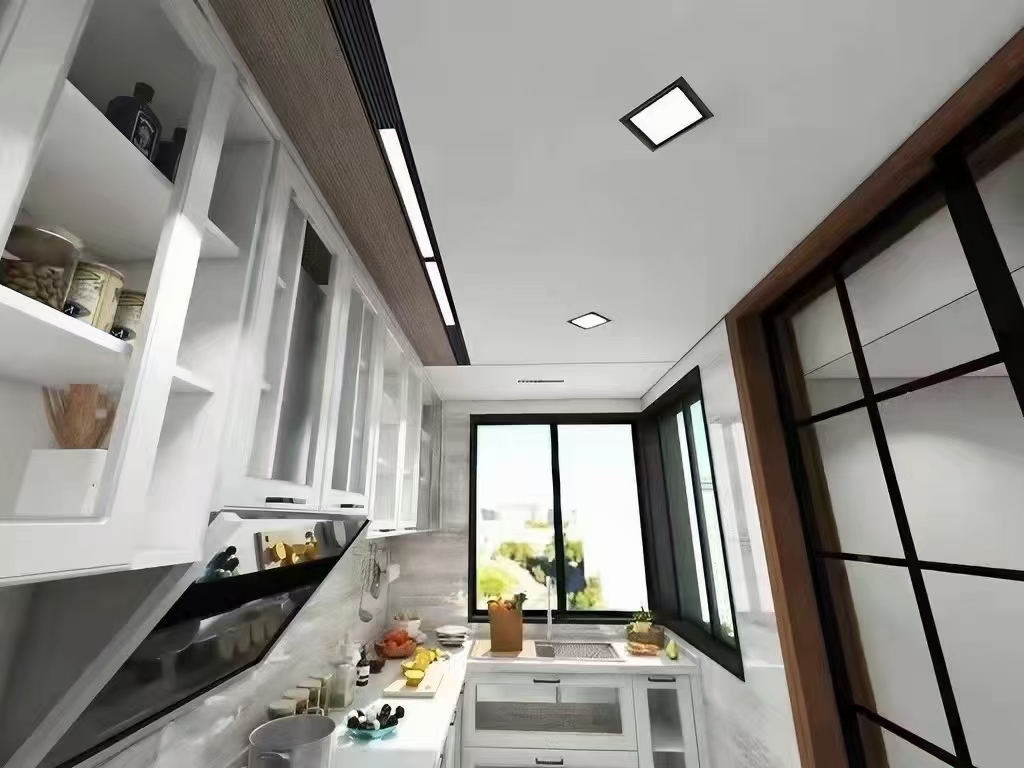 Aluminum Honeycomb ceiling, brand new building material
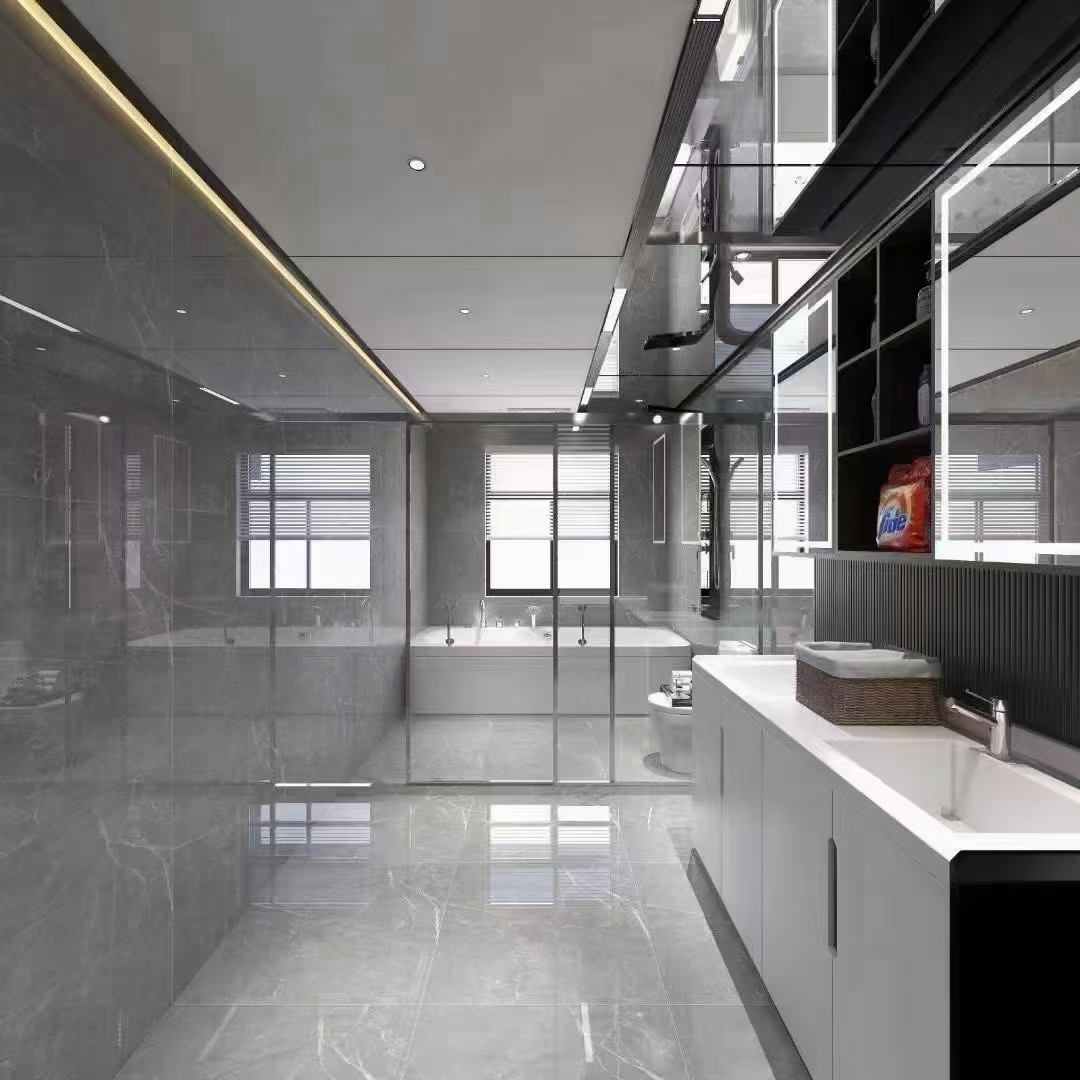 Aluminium honeycomb ceiling
GUANGXI SAIYI BUILDING MATERIALS CO., LTD© All Rights Reserved.