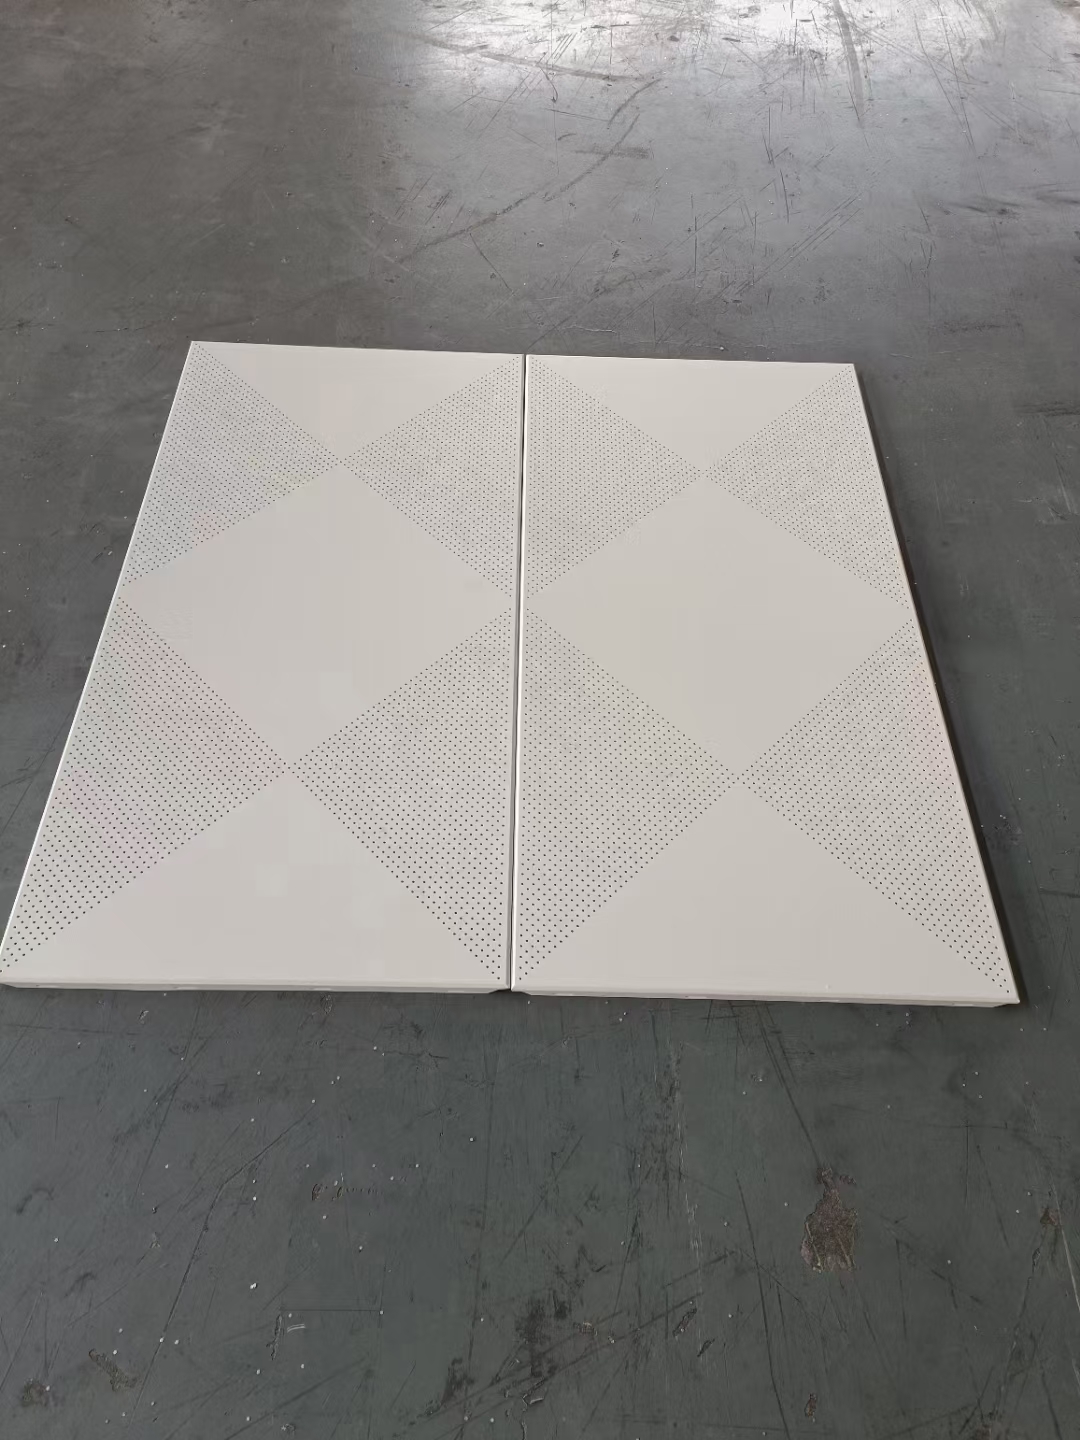
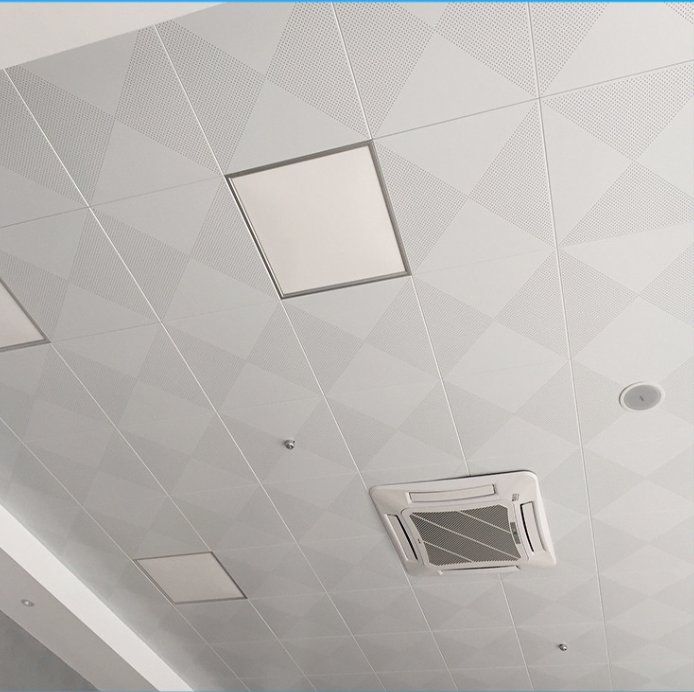
 Aluminum Honeycomb ceiling, brand new building material
Apr .07.2023
aluminum honeycomb panels is suitable for building curtain wall exterior wall hanging panels, interior decoration projects, billboards, shipbuilding, aerospace manufacturing, indoor partitions and commodity display stands, commercial transport vehicles an
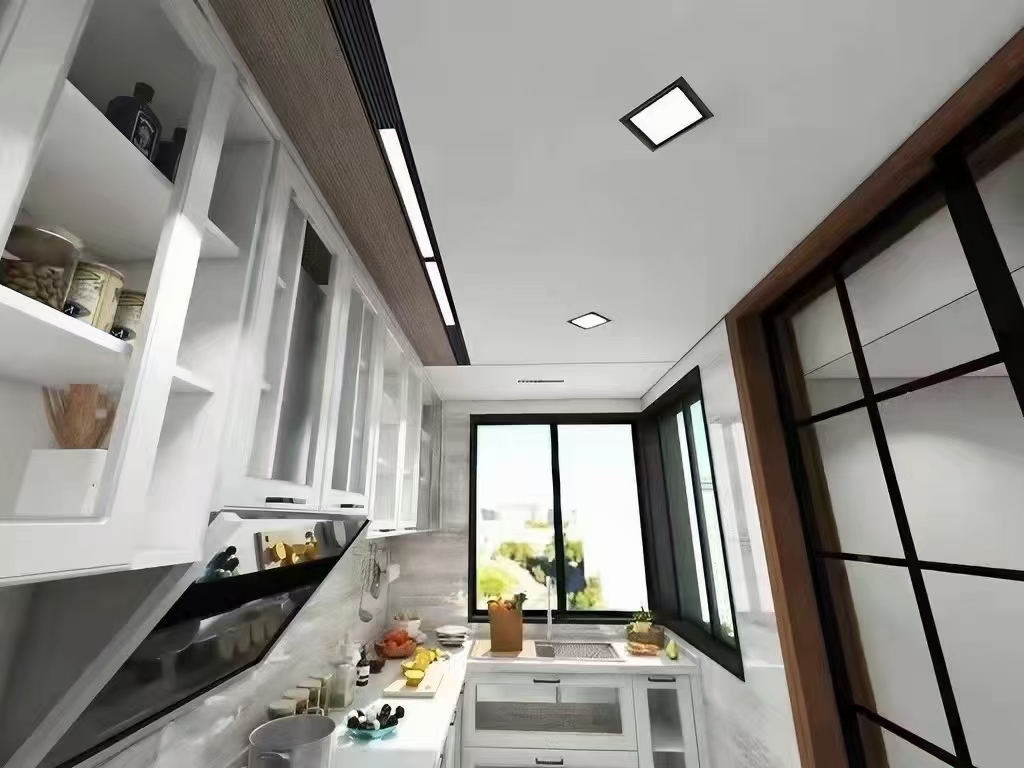
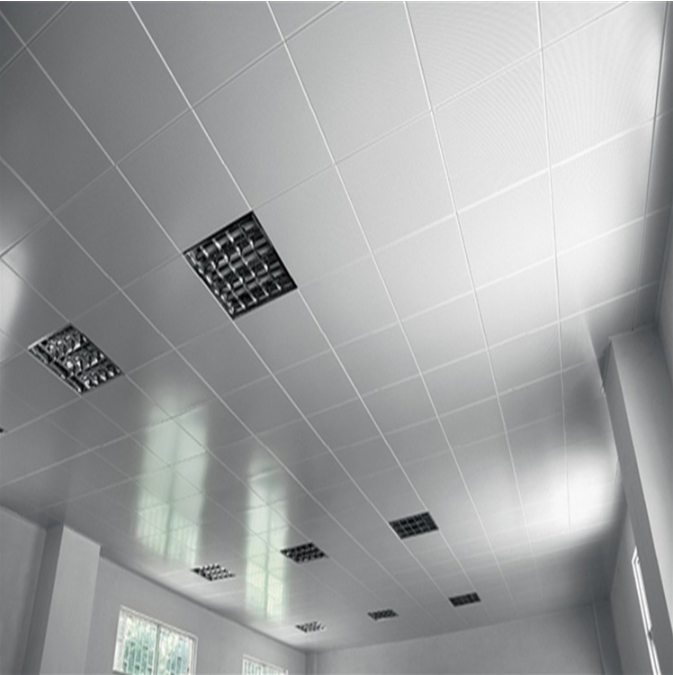
 Aluminium honeycomb ceiling
Apr .02.2023
How is a Honeycomb Panel Produced?
The honeycomb panel is typically made up of 5 layers by sandwich lamination: facing skin, adhesive, honeycomb core, adhesive and back skin.
Materials with high tensile and compression strength are best suited to bein

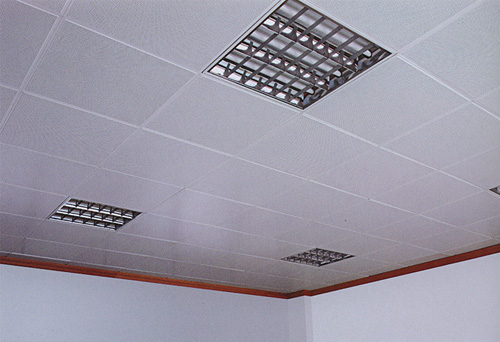

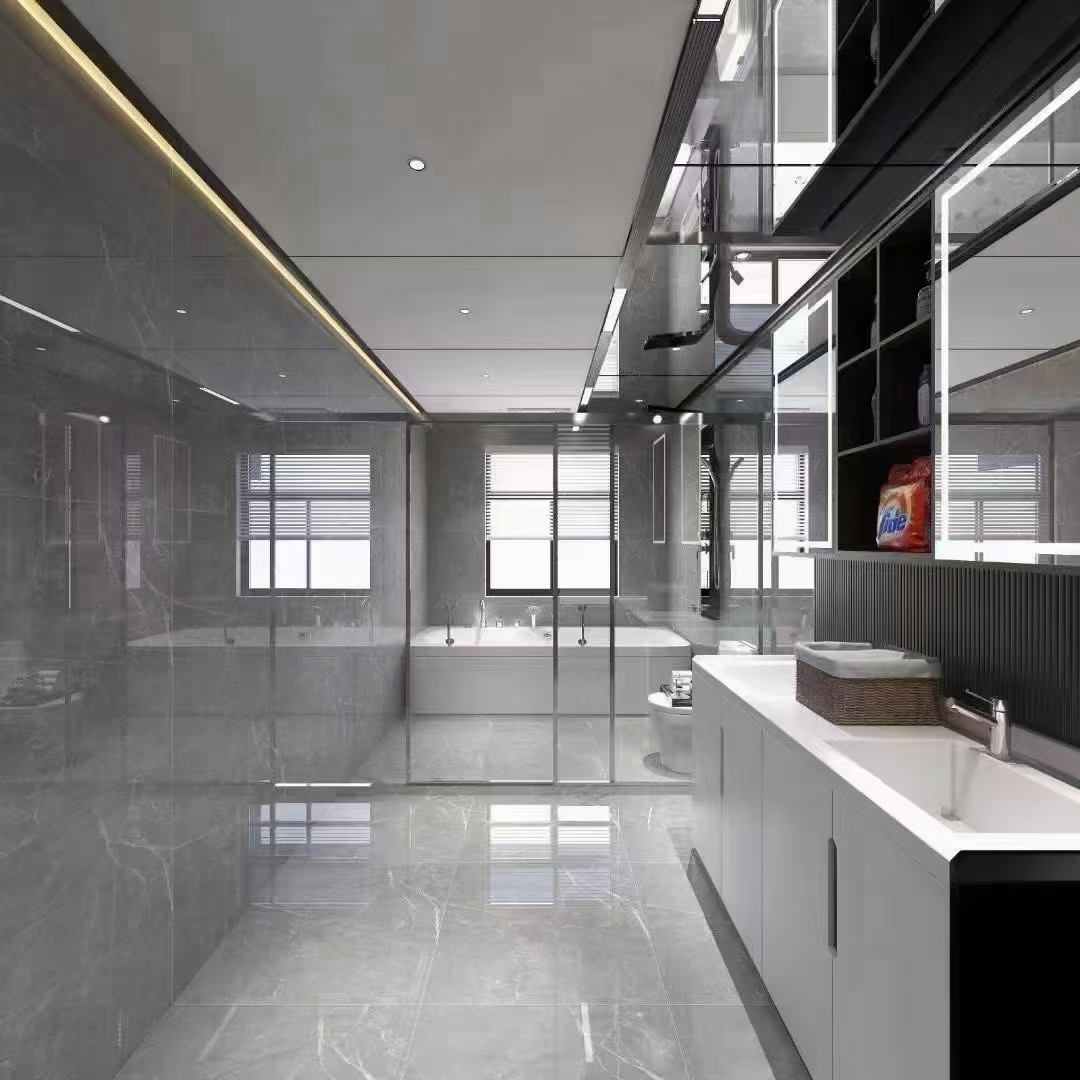
 aluminium honeycomb panel aluminium honeycomb ceiling
 Aluminum Honeycomb ceiling, brand new building material
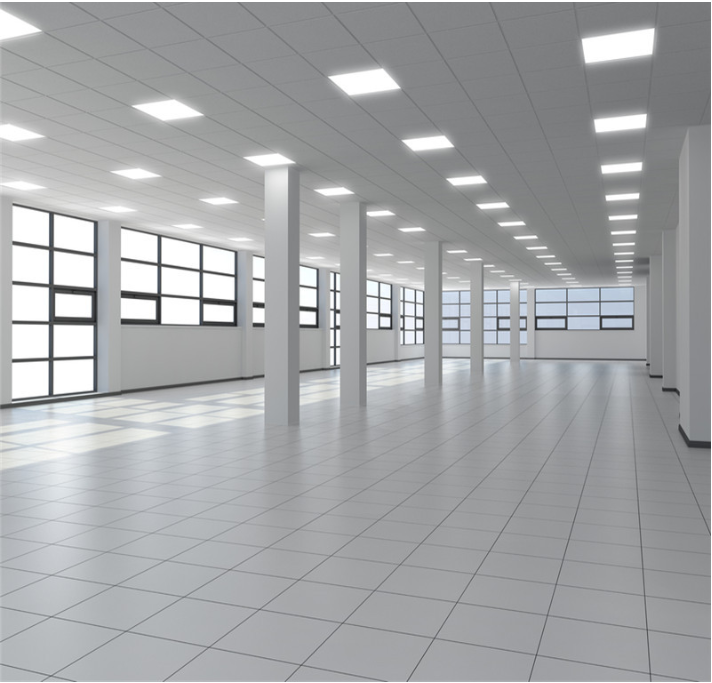
 Aluminium honeycomb ceiling