 Obtain Necessary clearances and approvals from Engineers including MEP clearance.


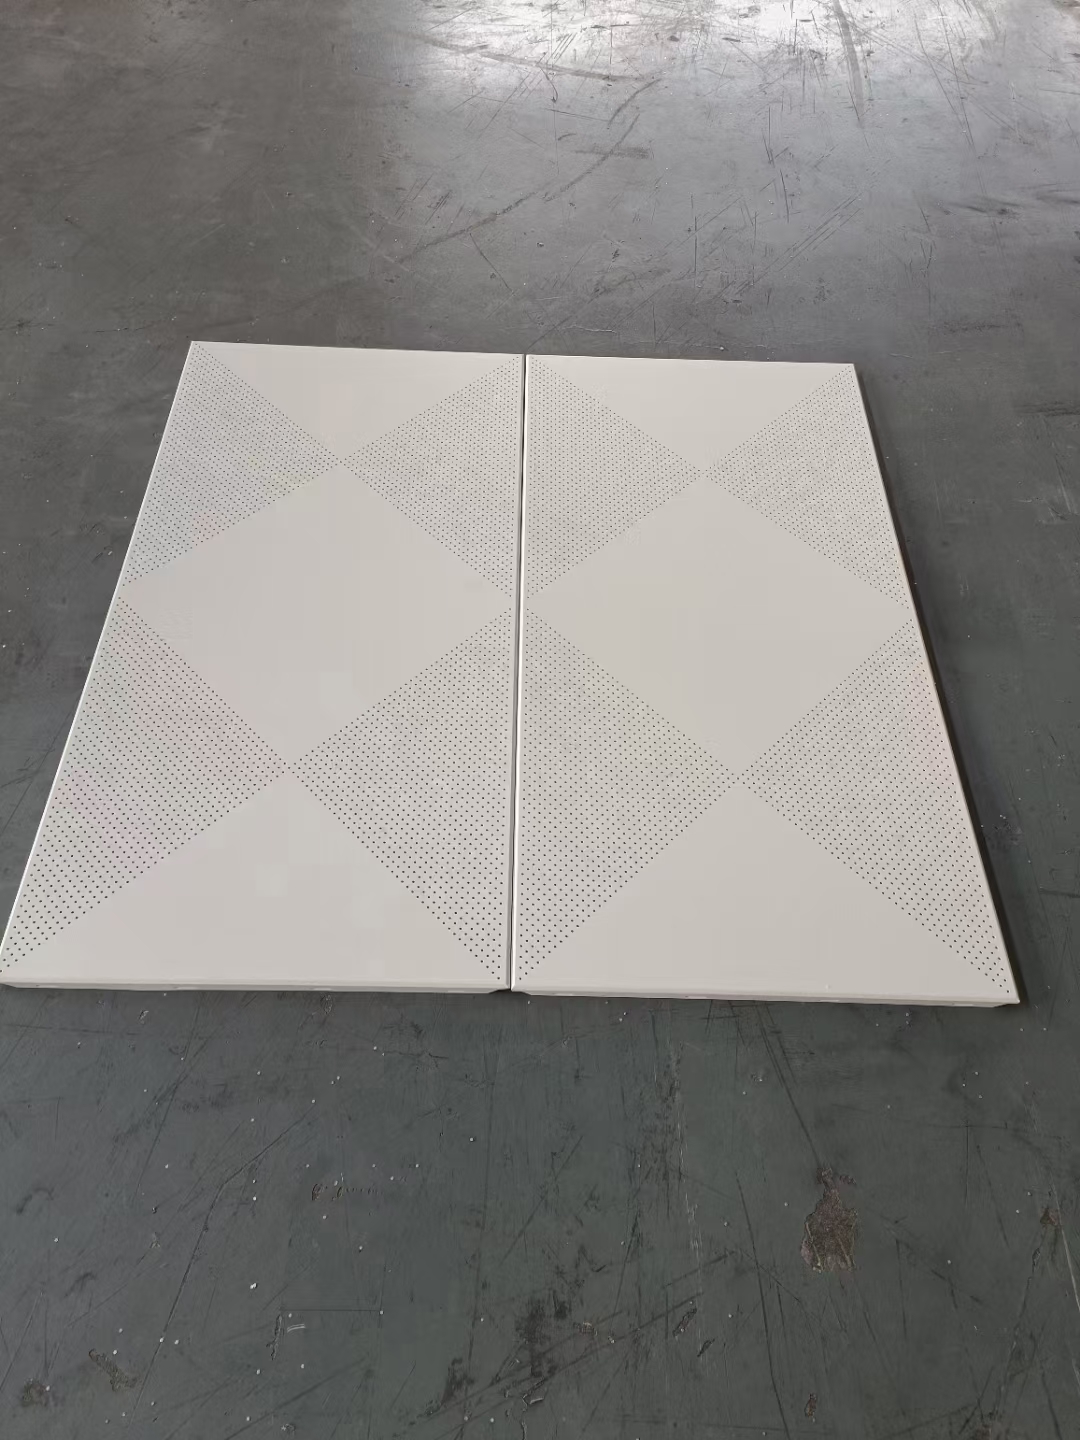
 aluminium honeycomb panel aluminium honeycomb ceiling
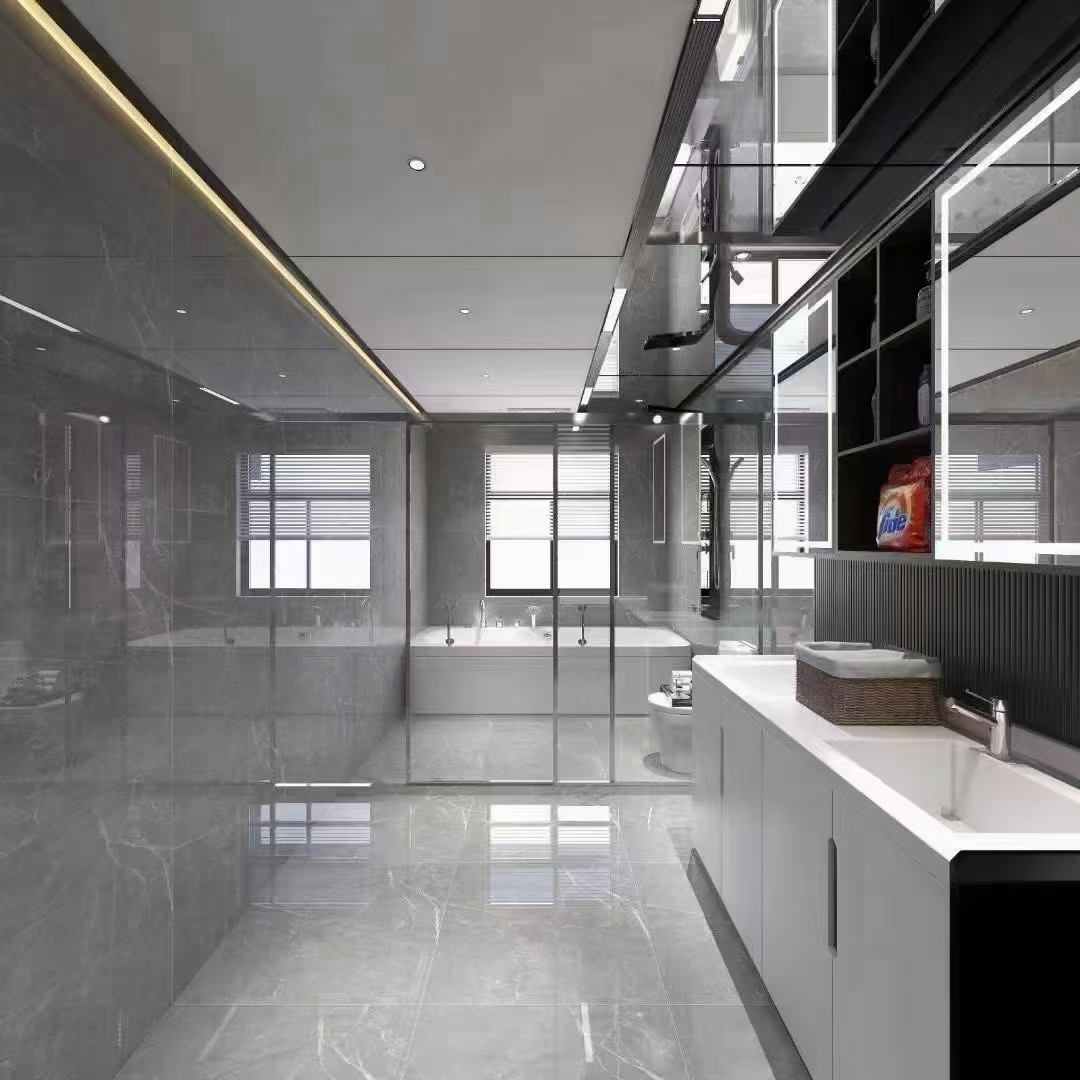
 Aluminum Honeycomb ceiling, brand new building material
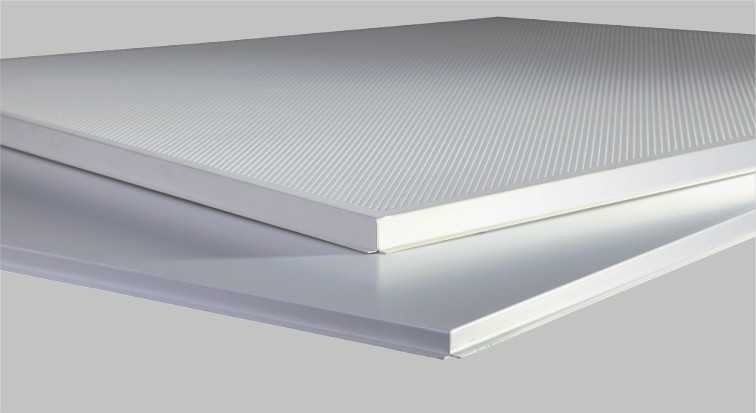
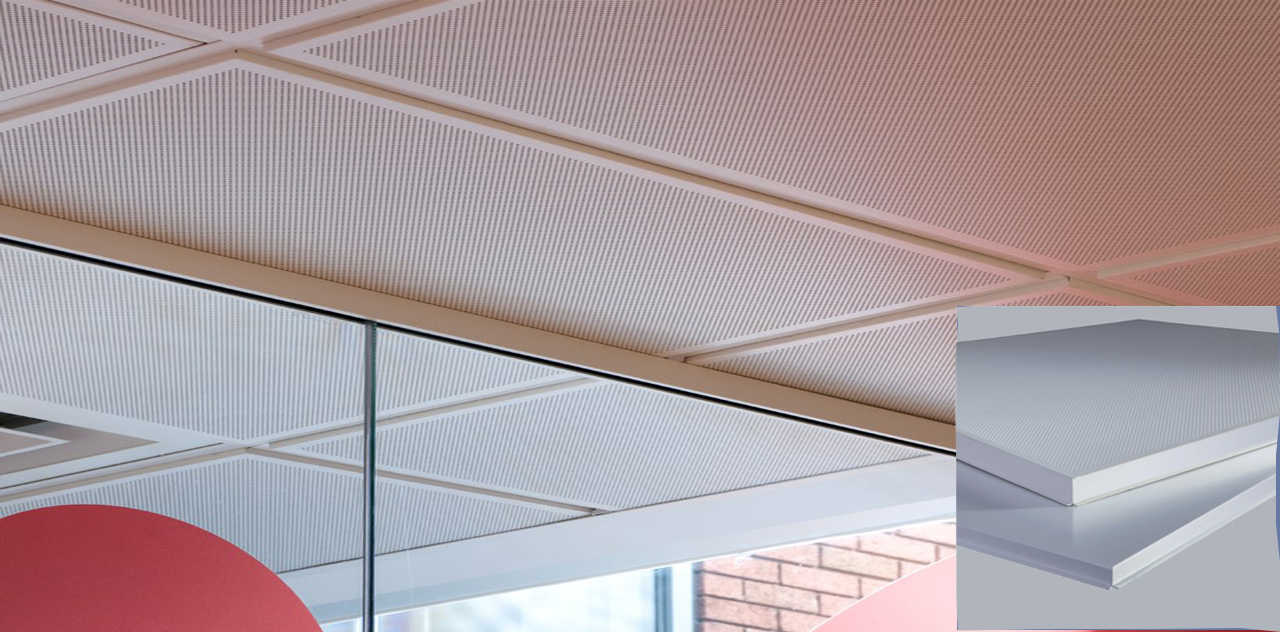
 Aluminium honeycomb ceiling
GUANGXI SAIYI BUILDING MATERIALS CO., LTD© All Rights Reserved.